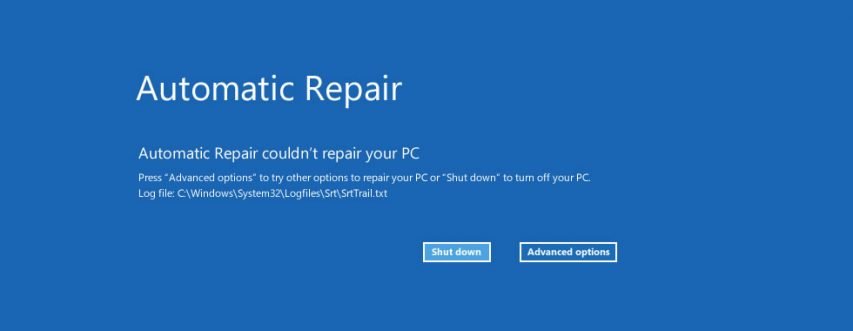
Let’s see how to fix Windows 10 stuck in automatic repair loop issue. In Windows 10, users do not have the privilege to enable or disable the System Update in Control Panel. You can only disable software update. But users are forced to download and install the patched for Security update. And while installing these patches, sometimes you may run into Stuck in Automatic Repair Loop issue.
If your system too have got into the aforesaid issue, below we are mentioning steps to restore your system. The solution mentioned will stuck system to normal.
How to Fix Windows 10 Stuck in Automatic Repair Loop

- In Windows loading screen, press Power button for about 8 seconds. This is force shutdown your computer.
- Start the system
- A message like Preparing Automatic Repair… appears. Then in the blue screen with two options, select Advanced Option.
- Select Troubleshoot
- Click Restore your PC
- Select Keep my files so that other files in your hard disk remains safe. Selecting this option will only remove data in partition C
- In case you wish to remove all files in other partitions also, then select Remove everything
- That’s all. After this, Windows re-installation will be completed. Once done you can use your PC without any issue.
We hope the solution provided solved your system’s issue. That’s all about fix Windows 10 stuck in automatic repair loop. Check out How to fix Windows Live Mail Error 0x800cc79.

