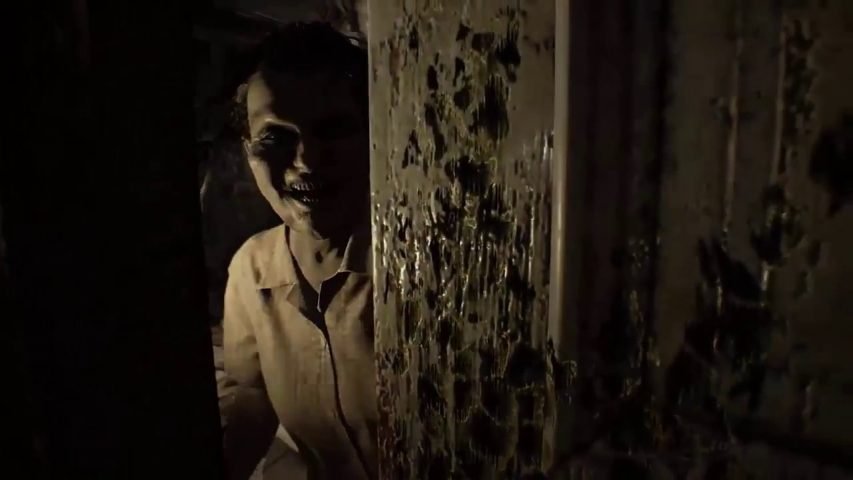
Capcom’s Resident Evil 7: Biohazard, the first of the 11 installments to support a first-person perspective gameplay. The player controls Ethan Winters from a first-person perspective and the player is allowed to use a bewildering array of weapons to battle enemies.
The game does not offer many weapons to play around with but offers broken weapons which you can fix by using a repair kit. These items are rare but not difficult to find. This Repair Kits Location guide will show how to find these repair kits in the game.
Resident Evil 7 Biohazard Repair Kits Location
First off, how to fix a broken weapon? Place the broken weapon and a repair kit in your inventory. Combine the two items to fix the weapon. And now, here are the locations of the repair kits.
Repair Kit 1
- This is in the third large house requiring two keycards.
- Go to the master bedroom on the second floor after getting the snake key.
- Set the alarm to show 10:15 to open a passage.
- Go inside and to the workshop to get the red keycard on the corpse.
- Now go inside Jacob’s room. Interact with the table lamp and go up.
- Climb to the dollhouse to get the blue keycard.
- Now, you should find the Treasure Photo.
- Go to the main house and inside the storage area on the second floor.
- Interact with the stool on the left side to get the treasure photo.
- Now, go to the testing area and open it using the red and blue keycards.
- Interact with the mannequin and go in the fourth room to get the repair kit.
Repair Kit 2
- Go to the main house from the trailer.
- Look for a metal cover between the stairs.
- This will lead you to a tunnel and there’s a repair kit at the very end of this tunnel.
You can find the complete Resident Evil 7: Biohazard Guide here.


